|
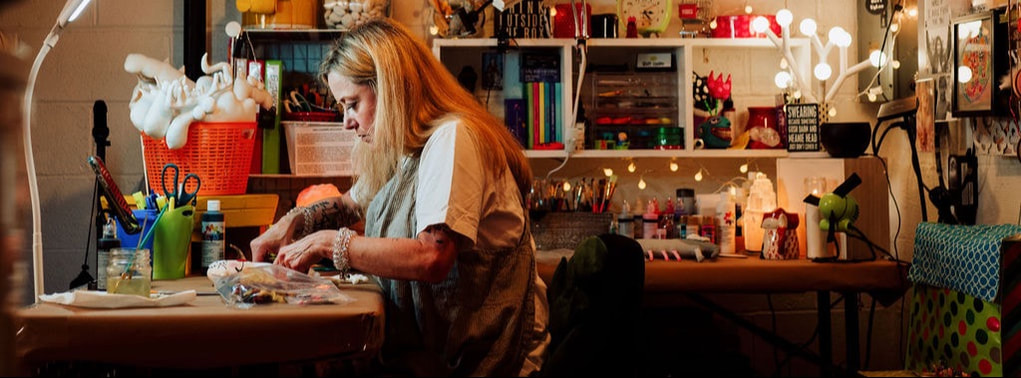
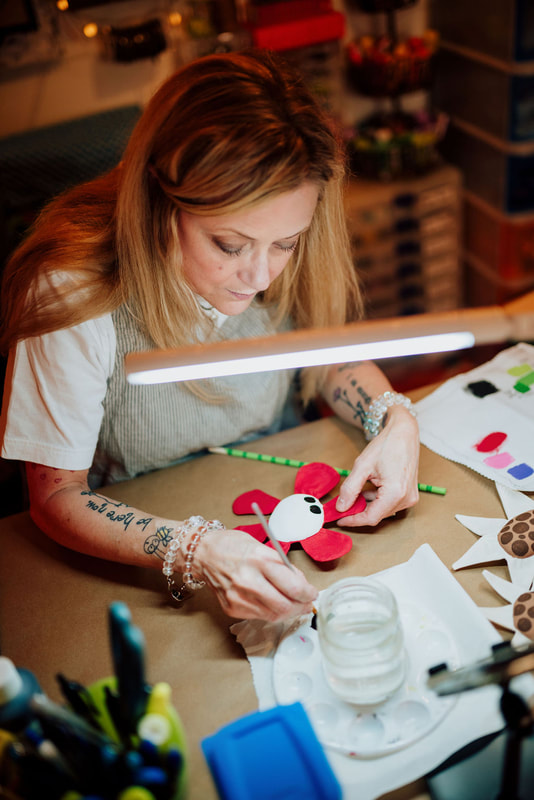
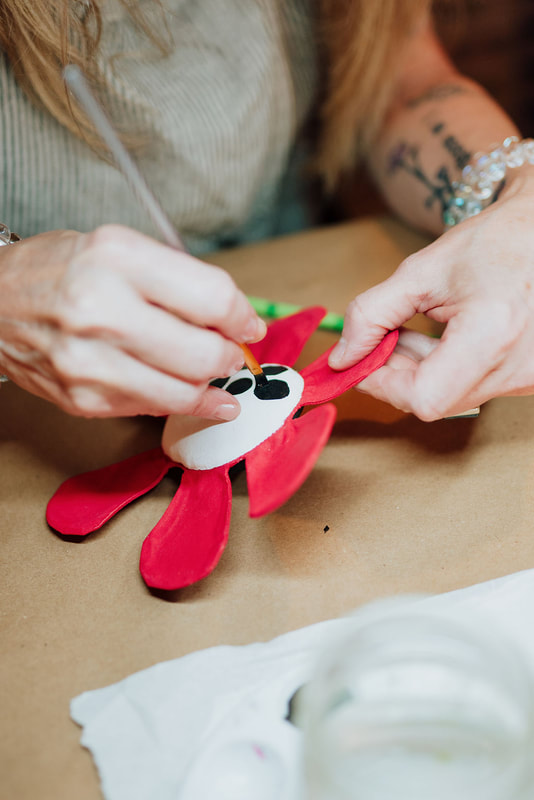
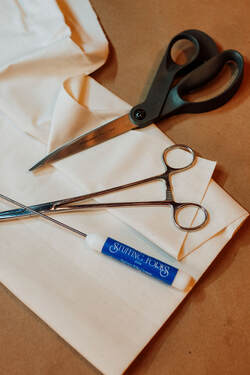
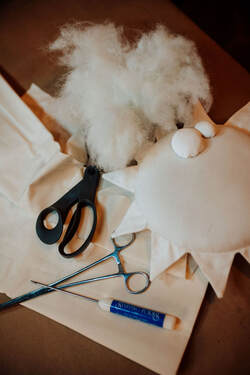
6/12/2023 1 Comment How I created my UgLee FLoWersEach flower is a one-of-a-kind mini work of art. I begin, as usual, with a nice big piece of muslin and a pencil. So far, I have 4-5 designs that I free-hand onto the muslin, stitch up, cut out, trim the edges, and flip. After using an iron to press each design, I go back to my machine and sew any necessary details. NOW ... I can finally bust out the polyfil and get stuffing. After one more press of the iron, the flowers are ready to be painted. So many choices and so many colors that sometimes I get on such a roll I forget to eat. Trust me, that NEVER happens! Before I know it, 6-7 hours have passed, and I'm still in my pajamas.
Uglee flowers typically have 2-4 layers of paint; dimensional paint detailing is added after the initial layers of paint dry, followed by a thin coat of sealer for protection. I then sign the back of each one. Ta-Da! While the flowers dry for 48 hours, I set my table up for work on the stems. Dowels work best for this part of the process. Most of my stems are shades of green, but I also like to paint some in black and white and/or red and white stripes. Each dowel gets three coats. The first coat is the base color, the second is the stripe, and the final is the clear sealer. I usually give them 48 hours to completely dry. This next stage is really fun. I match up each flower with a stem, cut a small hole, fill that hole using a glue gun, and quickly slide the dowel into place. Once the glue is dry, I pull out my BuTT UgLee tags and my enormous collection of ribbons. Again each Uglee flower receives a tag and two additional pieces of ribbon. Now they are finally ready to photograph!
1 Comment
|
AuthorMy name is JeNNy JoNes. I am the designer, creator, and maker of all things BuTT UgLee. ArchivesCategories |
Proudly powered by Weebly

 RSS Feed